If you read a couple of our earlier articles in which we featured rear-views of our gote shibari tie, Capturing the Passion or Lovehoney Crotchless Lace Boyshorts for example, there are several inconsistencies in the frictions of the rear stem, and the overall aesthetic simply does not feel quite right.
Is it a minor thing? Perhaps. But, given that it's not really any more difficult to get it "right", we made some notes while watching a few of our favourite tutorials and DVDs, and we now have a style that's easy enough for us to use, cleaner, more efficient, and quite possibly slightly more comfortable to lie back against.
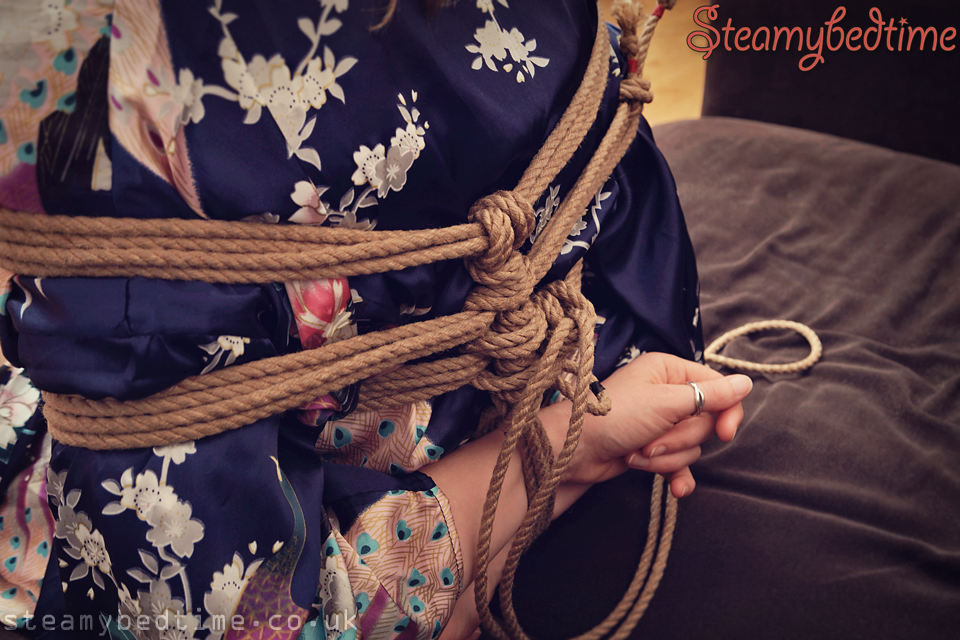
In the list below we've picked out a selection of tutorials and videos that we found particularly helpful in this exercise. Number 1 and 3 are specifically in the format of a tutorial. Number 2 and 4 are more like demonstrations, and the feeling and flow video is especially good. Number 5 is something I feel fairly sure is a tutorial, although since our combined knowledge of Japanese is pretty much "hai sensei" and "domo arigato gozaimashita", we simply enjoyed learning what we could from the visuals. It looks like a fun tutorial.
- Gote Shibari: Box Tie Tutorial by Esinem (Vimeo)
- Tying a Gote: Feeling and Flow by Esinem (YouTube)
- DeGiotto Rope: Takate Kote (YouTube)
- GanRaptor: Hishi Takate Kote (YouTube)
- Dari Wizard: Takate Kote (YouTube)
When it comes to paid options, you can't go far wrong with the following two courses on ShibariClasses.
These are far more in depth, and you'll quite possibly find yourself eagerly browsing the other tutorials on offer.
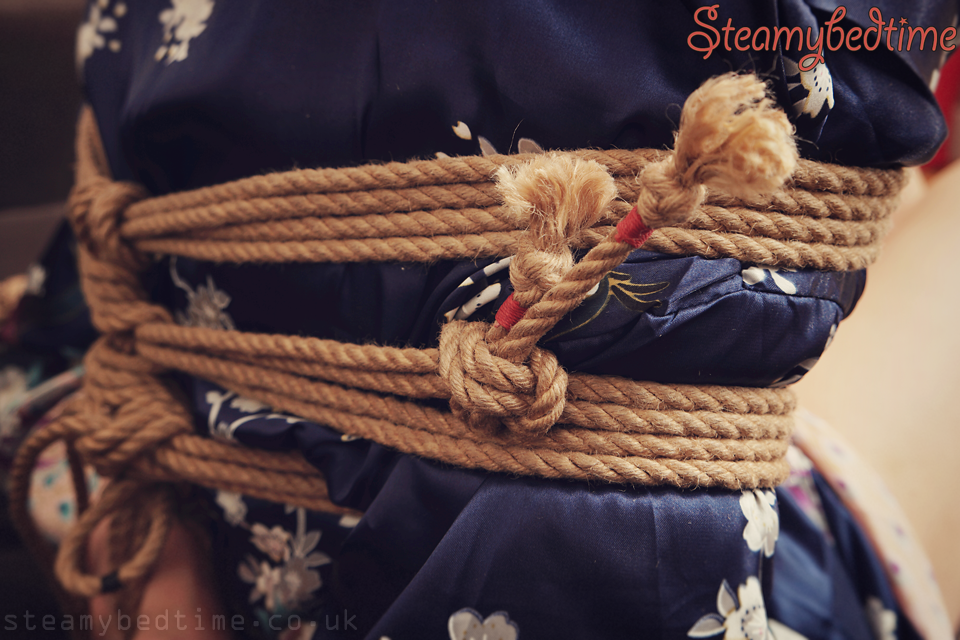
We think we're following the Gote Shibari: Box Tie Tutorial fairly closely, except that I find it more comfortable without the upper cinch. In a lot of the Japanese bondage photography that we enjoy it's quite common to see it omitted, so I don't think we're doing anything too crazy!
This is a 2 rope gote, and without the upper cinch there's a bit of rope left over. Here it's tied off with a simple half-hitch, but with more practice it could certainly be used more creatively. One step at a time though!
If you like the wrapping and lacing style techniques in the photos below, check out our earlier article: Getting Wrapped Up In Shibari Practice. It describes some of our main points of learning from the Tying Techniques Part 1 course...
The decorative leg lacing you see below is something we've been working on for a while, starting with Tying Techniques Part 1 on ShibariClasses and later adding the structure from this post we found on Tumblr. Here the wraps are more spaced out, making for a relaxed, but I think very appealing, pattern. The more open structure allows easier access and the silky fabric of a satin robe will slip very nicely beneath the rope... just in case your partner might want to do something like that. Here's hoping! ;-)
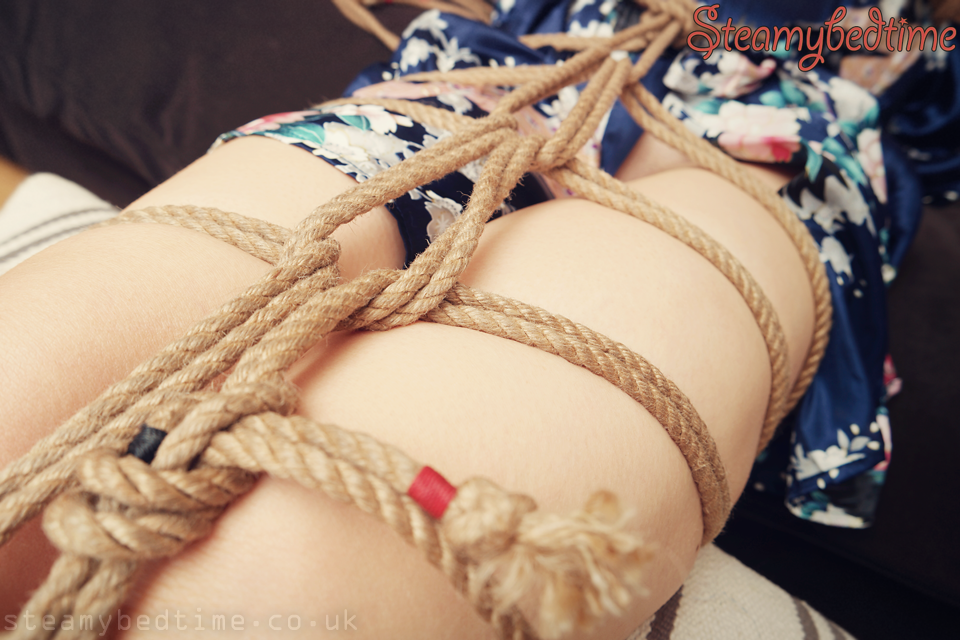
Since reading Shin Nawakiri's Essence of Shibari, we have switched to joining ropes with a Sheet Bend. Maintaining tension during the join still feels slightly trickier than with a Larks Head, but it's getting easier with practice. That issue of tension was made worse by the looping structure of this particular lacing pattern, but it still worked out very well, and it's always amusing to watch the hubby gripping two ropes in his teeth and two in his left hand while trying to keep the structure intact! :-)
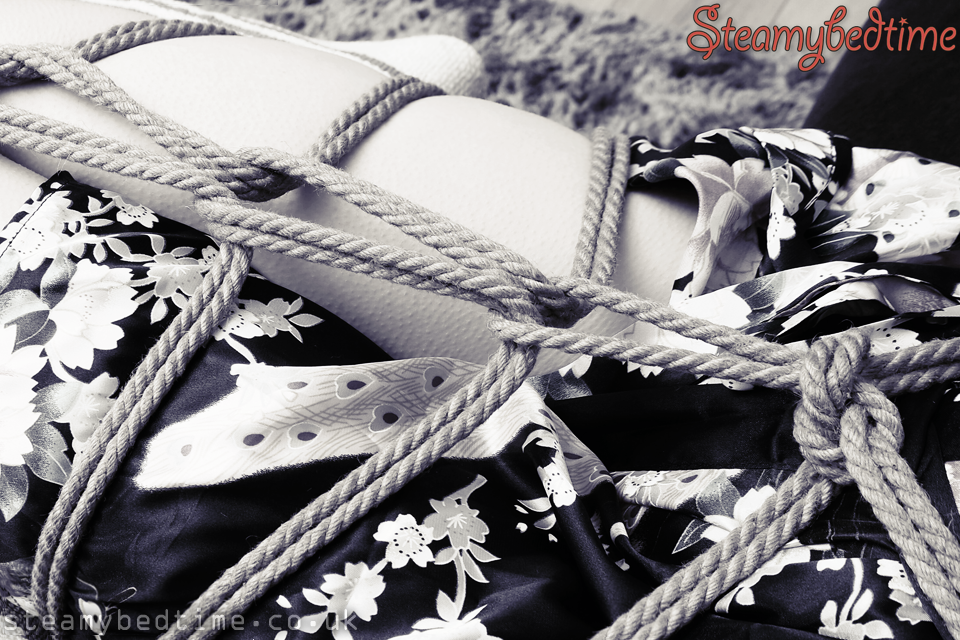
Here the same tie has been lightly blue toned in one of our usual monochrome treatment processes. I think the evenly spaced loops look great, and it's probably fair to say that (apart from joining the ropes) the technique is a lot easier than it looks.
In a moment of photo-geekery, if you're not already applying colour adjustment layers this way, we really like the Photoshop "Blend If" option applied to the luminosity of an "Underlying Layer". Use the "Alt" key to split apart the slider handles and exclude the adjustment layer from applying to the darker tones. It really seems to help preserve the blacks.
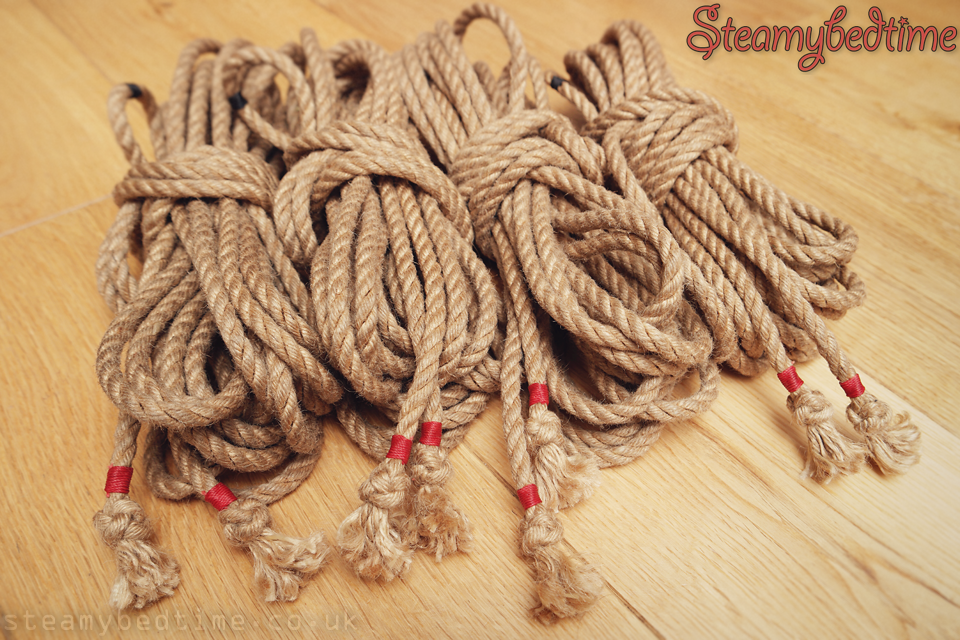
The set of ropes in the final photo above are our experimentally wet-treated jute ropes that we made and described in this article: Treatment and Maintenance of Rope. Since writing up that article we have upgraded the end knots to Thistle Knots, using waxed red whipping twine. Technically speaking the whipping could be removed once the thistle knot has been tightened, but the choice of red was an aesthetic decision and I think it looks nice. A similar whipping in black waxed twine marks the centre of the ropes.
It's time consuming at first, but relaxing and strangely satisfying. Just crack open some nice wine, find a chilled out playlist on the HiFi, and get weaving together. This technique was based on two YouTube tutorials. We used the second whipping method from video number 1 and video number 2 is the best explanation we could find on tying the thistle knot.
- How to whip the ends of rope (method two, exactly 2:00 into the clip)
- How to tie a thistle knot
The result looks better than a simple overhand knot and when creating frictions it pulls through really nicely and with just enough resistance to create a reaction. Thanks to @MasterRopeKnot who highlighted that to us in an earlier Twitter conversation. Pop! ;-)
Summary
This has perhaps become a bit of a rambling essay, but I suppose our underlying point was to evaluate and strive for improvement. Looking back through sets of published and private photos we recognised a repeated error, and it was well worth taking out a bit of time to understand the problem and figure out a new method that will work well for us.
We'll leave you with this thought - if you've studied a particular tutorial, absorb the knowledge and put it into practice for a couple of months. Then, return to the same tutorial and study it again. I can almost guarantee that the experience you've gained will highlight some errors and will enable you to pick up on nuances that you had originally overlooked.
Check out these two gote shibari tutorials and get practising! :-)


