


Week 22 of 52 : X-Friction Top of Rear Stem
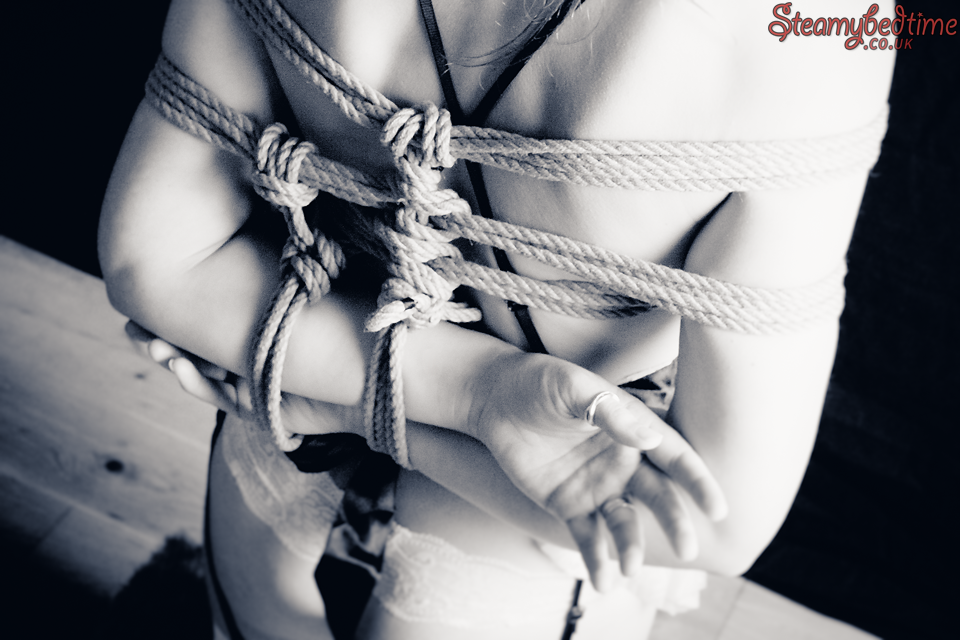
In week twenty-two of our #kinbaku52 project we're picking out a detail from the rear stem of a gote shibari.
We've recently begun experimenting more with low-key photography, and this image is lit by a single umbrella (placed very close) and the pose is against a black muslin backdrop. This example it rather too brightly lit to really qualify as "low-key", but I love the effect, even thought it's proving tricky to learn.
The gote shibari, or takate kote, or TK, or box tie... call it what you will, is such a classic form that inevitably you'll want to try it out early on in your practice. I know we did, and our early efforts were quite erratic! There are a few good tutorials on YouTube, but with hindsight there are some free tutorials (often surprisingly well ranked in Google) that are bizarre to the point that you wonder if they are created as some sort of parody.
![]()
Almost exactly a year ago, in July 2017, we decided to really focus on tying a safe and consistent gote with a stem that used orthodox, symmetrical frictions. We wrote about that here: Gote Shibari and Stem Practice, which features some useful resources, in particular the first two courses highlighted below.
Here we'll take a close-up look at our upper friction. I'm fairly sure we're tying the conventional style of X-friction, but quickly found that we both prefer the aesthetics of the X shape facing inwards. In the course Upper Body Ties Made Easy, the section on the Teppo Half Gote featured some interesting discussions on interchangeable frictions - these tutorials are ripe with this kind of really useful aside.
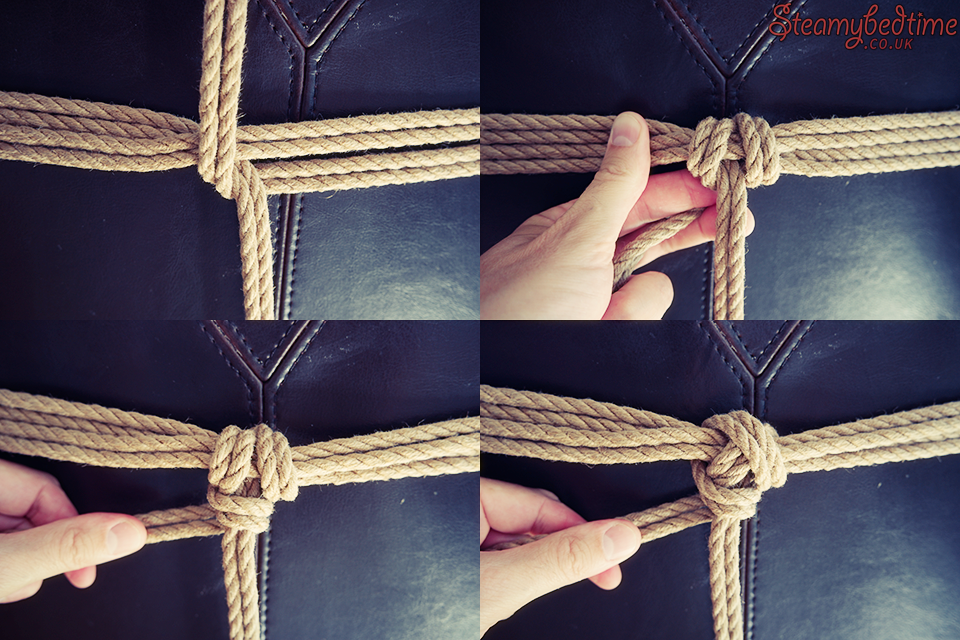
The figure above (top left) shows our first step, bringing the stem to centre and wrapping "up" over the upper-wrap. Step two (top right) shows the working end of the rope now wrapped either side of the stem, exiting behind and to the left. In the third step (bottom-left) a simple wrap of the vertical stem leaves the rope exiting leftwards.
The final image (bottom-right) is exactly the same friction, but with the "X" shape facing outwards. Personal preference I suppose, but I prefer the flatter, more compact visuals of the previous form (bottom-left).
Our gote shibari is the tie we use more frequently than any other and it has been well worth the effort to get this basic form (hopefully!) correct. We struggled with it for a long time, and a single course at the very beginning, such as Contemporary Gote, would have undoubtedly saved us a lot of time.
References
We've linked to two of ShibariClasses gote tutorials below. In every one of their courses that we've studied so far, we have found useful building blocks that have helped our understanding of other techniques. A great example is the Hishi Pattern Ties course, that contains some fabulous explanations of frictions and direction.
Take a look at Esinem-Rope for a great selection of shibari supplies. The rope we use in most of our photography is 6mm Okinawa jute.
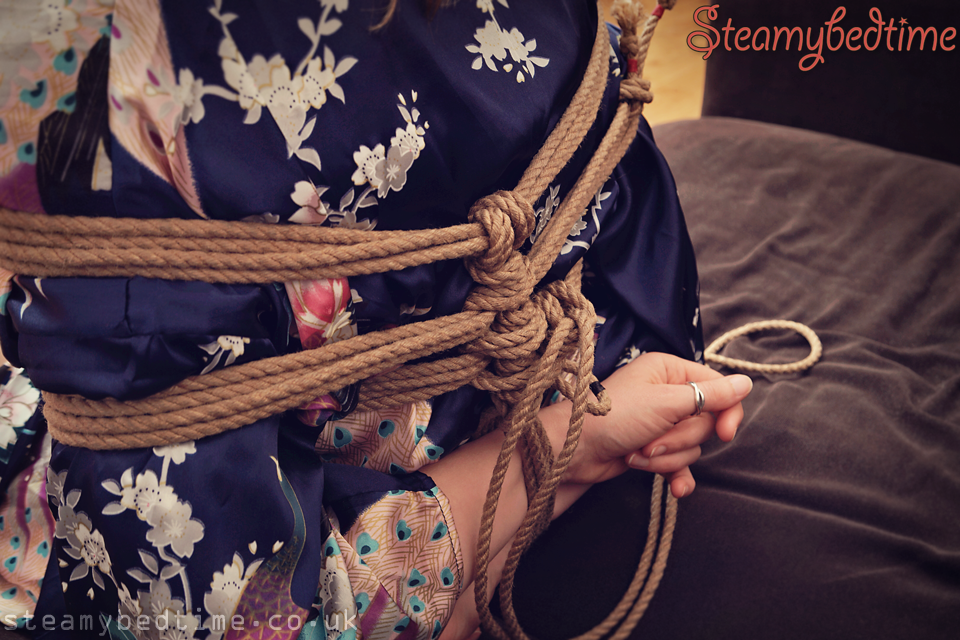
Next week we're going down... and looking at the half-moon friction in the middle section of this rear stem. :-)
![]()


