


Week 11 of 52 : Joining Two Ropes
In our photos for week 9 and week 10 we looked at a couple of common frictions and thought about their role in building complexity. In the same vein, sooner or later you're going to need to add additional ropes.
The easiest method is almost certainly a larks-head knot slipped over the end knots of your next rope and tightened. A common variation (if you have no end knots, or if they are unequal lengths, or you want to join your ropes anywhere other than the end of the line) you can easily form a larks-head and collapse it into a reef knot.
However, against this popular convention, we took the decision to switch to using a sheet-bend to join our ropes. The decision was mostly aesthetic, we love its appearance of lying flat, although it also coincides with us removing the overhand end-knots from all of our ropes and tying thistle knots instead.
The name "sheet bend" reflects the knot's sailing etymology, and good Scouts might think of it as a means to join ropes of different types or unequal diameter. It's not without its disadvantages, being slightly harder to tie and it has a reputation for potentially working loose if inconsistent tension is repeatedly applied and then released. It's very closely related to a classic bowline, which is another knot that is often frowned upon in rope-access and rescue roles.
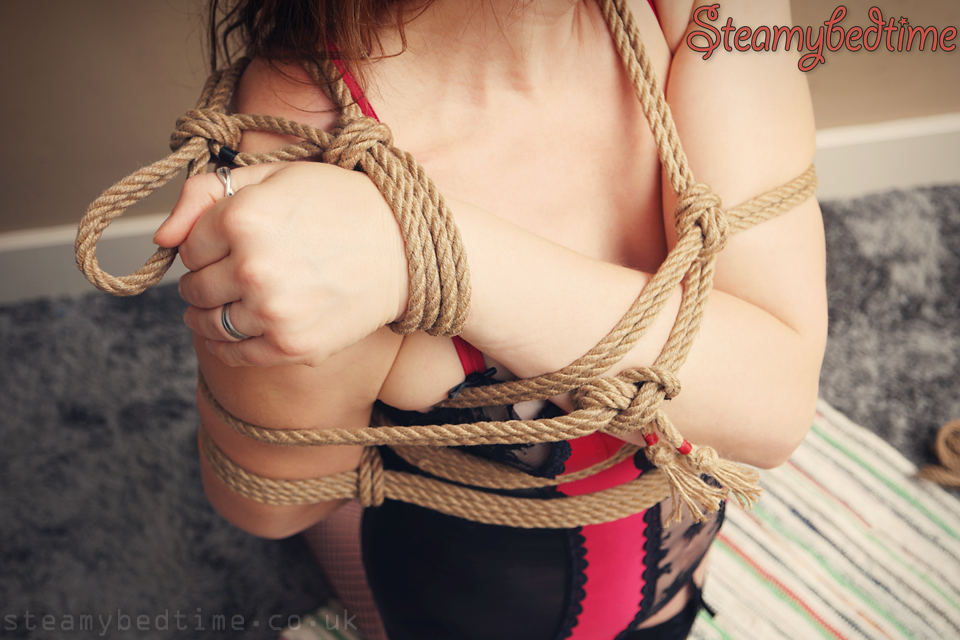
In the example above (from Review: Upper Body Ties Made Easy) the join is conveniently located and a collapsed larks-head knot would have worked very well too. For us, this choice comes down purely to aesthetics. We like the way it lies flat, and the rope ends exit and mirror the line of the forearm.
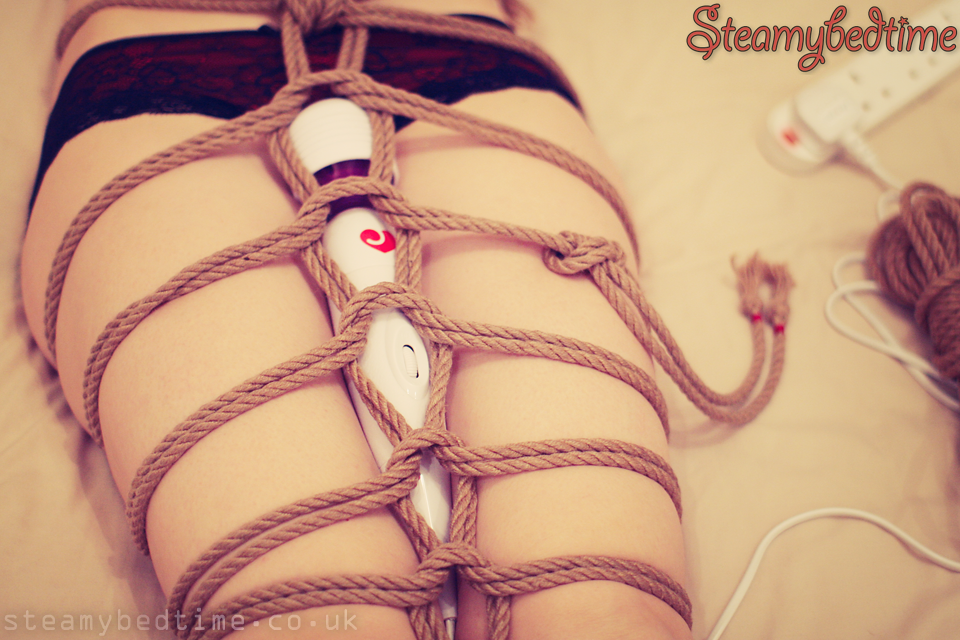
In the mummification style tie above (from Week 5 - Somerville Double Column Tie) we don't want the join to interfere with the pattern of the central stem, nor do we want it over the top of the wand. Here the sheet bend has been placed comfortably mid thigh and the loose ends have been left to trail onto the matress.
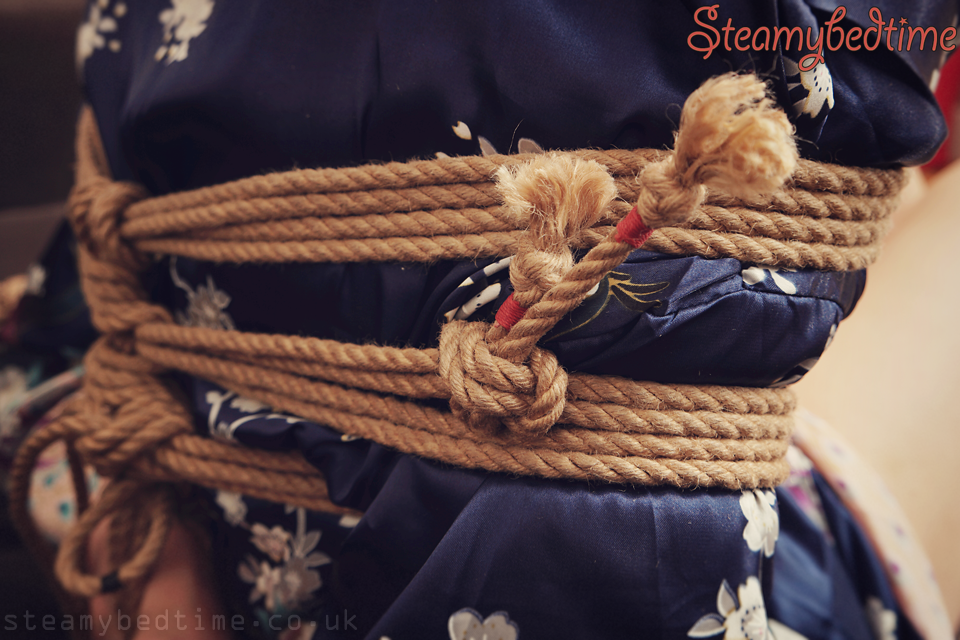
Finally, in the gote shibari example above (from Gote Shibari and Stem Practice) the rope ends are uneven. A collapsed larks-head would have been one option, but pressed against the back of the upper arm, a sheet bend lies beautifully flat.
References
In spite of some perhaps legitimate criticisms, we're sticking with our sheet bends for now. We tie and play exclusively floor-based, and will have to reevaluate many of our current techniques and practices if and when we start to look at suspensions.
You'll find lots of discussion of joining ropes in all sorts of tutorials, although mostly larks-head knots are discussed. One of the first ShibariClasses courses that we followed Tying Techniques Part 1 gives some great tips on rope management, including joining ropes.
The final link below is by Topologist (Vimeo) and is a very efficient method for placing and tying a sheet bend.
- Tying Techniques Part 1
- Japanese Rope Bondage parts 1 & 2
- Crash Restraint - Extending Rope (Sheet Bend)
The photos this week are mostly back to using our Okinawa Jute rope from Esinem-Rope, they're a lovely set of ropes. Check out the link for loads of authentic Japanese style rope, with free postage too!
Next week we're taking a look at a useful building block that we like to use in a couple of different ways... it's a single rope, crossed-ankles to thigh tie. :-)
![]()


