Week 08 of 52 : Adding a Second Column
The first technique we learned for adding a second column mid-rope came from this Topologist video, Tying a Second Limb Under Tension. Later we learned a different technique from Upper Body Ties Made Easy. This second approach quickly became our preferred method, it's beautiful and efficient, although it does require tension in a specific direction. The first technique appears to be stable with either side of the rope pulled in any direction, which will be an advantage in some situations.
We use these techniques all the time and you can see examples in some of our earlier posts:
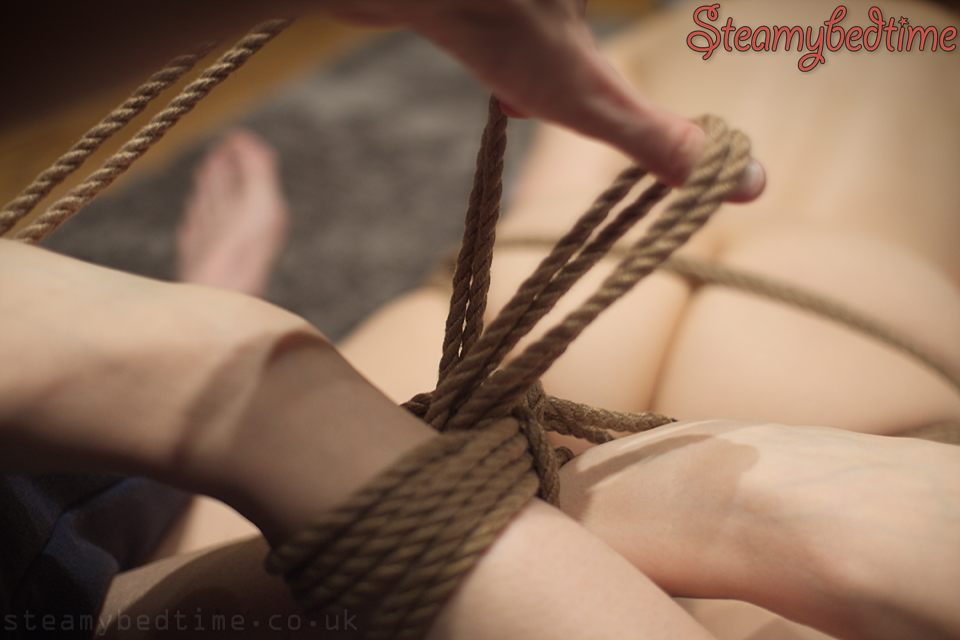
In week 8 of our kinbaku photo-a-week project we created a very relaxed hogtie. The scene is somewhat contrived (for practise and photographs) but if you wish to do so, you can make this style of tie far more restrictive by including your partner's upper arms, perhaps a tie above the elbows, or a chest harness around the shoulders incorporating an upper arm cinch. Here we simply have a pair of single column ties holding the wrists into a hip-harness..

We used the Crossed Double Column Tie that we described a couple of weeks ago, this time using it for ankles.

And we added a second column (foot) for some additional tension and structure.

The tie was super relaxed - be careful not to fall asleep! Also, the crossed ankles encourage a "knees apart" position which is great for teasing. ;-)
References
The ShibariClasses website tutorial Upper Body Ties Made Easy which is fabulous for all sorts of reasons; highly recommended. The second video below is on Vimeo, from Topologist's channel, which also features loads of other excellent tutorials.
In all the photos for this series we're using Okinawa Jute rope from Esinem-Rope.
Tune in next week for a departure from knots... we're looking at a friction commonly referred to as an Alpine Hitch, and will try to put it to good use! ;-)


