


Week 01 of 52 : Somerville Bowline (Carrick Bend)
This single column tie is the Somerville Bowline developed by Topologist, although there seems to be some debate as to whether it may be some sort of variation of a carrick bend. The aesthetic of it really appealed to me, but we found that several of the online tutorials make it sound more complicated than it actually is.
The resources we found most useful were these two videos by WykD Dave, and the third link is Topologist's own site, Crash-Restraint.
Practice and repetition are key, and in week 1 of our #kinbaku52 project we've taken out some time to focus on practising this single column tie. This has been our preferred single column tie for quite some time and the technique quickly becomes very smooth in most familiar and common scenarios.
However, in situations where you are either improvising or trying something new, we've often found the perspective of seeing it from a different direction can very easily throw your usual technique off track. That's what we decided to work on this week, and with that in mind we undertook a couple of more structured practice sessions, frequently switching positions and directions and ensuring the movement still flows smoothly.
Boring? Hmm, maybe - but definitely a very worthwhile endeavour.
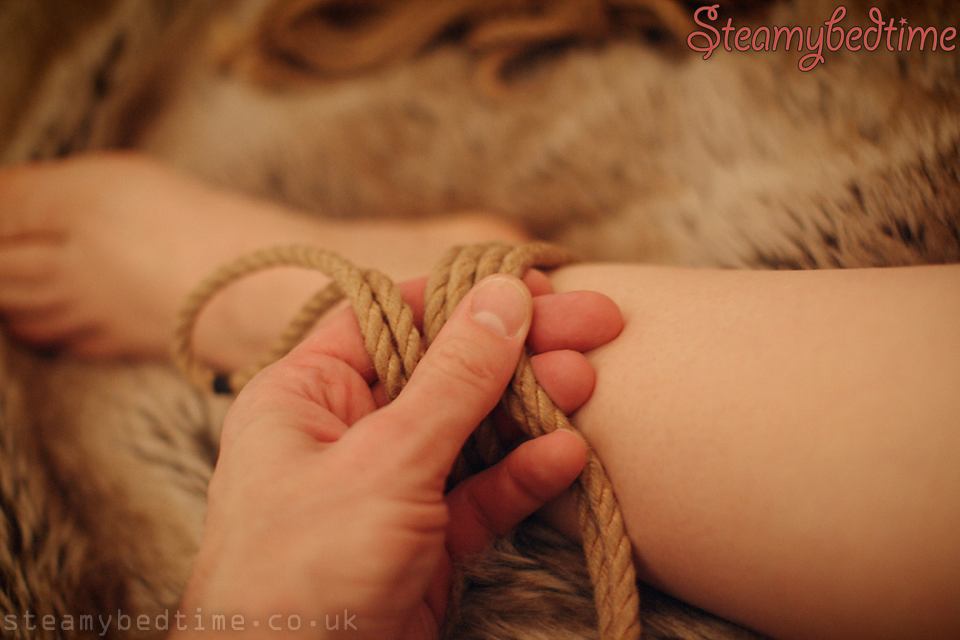
In short summary, our method follows the guides above and we begin by making a couple of wraps and holding back at least six inches to complete the knot. (Leaving the bight too short is an easy mistake, and everyone would prefer an extra inch or two!) Pinch the bight across the wraps and, with the working end of the rope, form a loop around the bight.
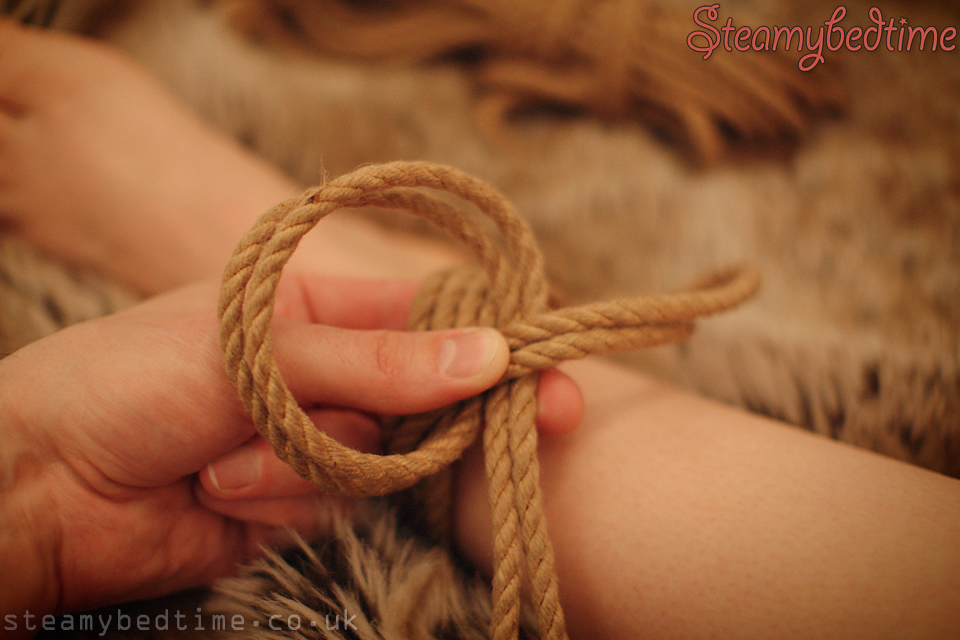
As a visual memory-jog, I find the loop reminds me of a roller coaster loop. At the base, the lines of the loop cross each other in an "X" shape and that's where the bight comes through and passes back under the wraps. Just like wobbly roller-coaster rails are not fun, keep the loop neat and tidy and it will tighten down into a pleasing knot.
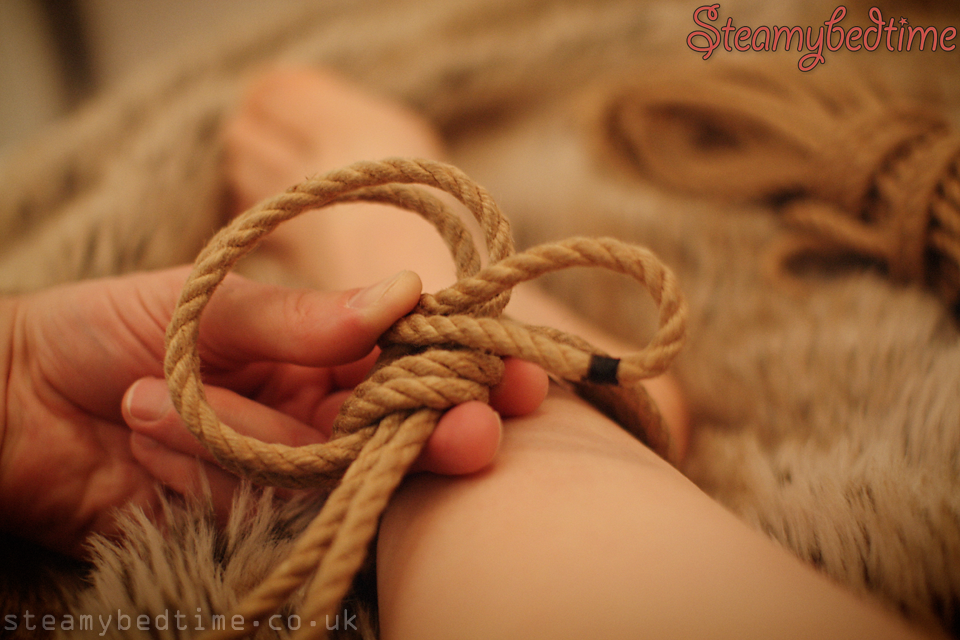
Having passed under the wraps, the bight comes back through the loop and you are almost done. Keep tension on the bight as you tighten down the knot.
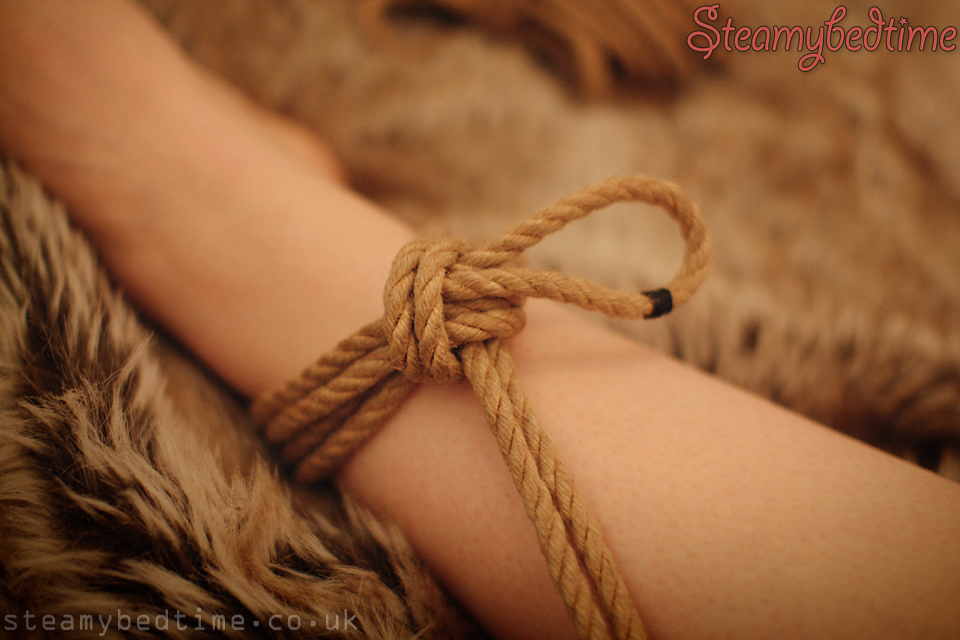
Pull the working end of the rope to take all the slack out of the loop and put tension on the bight and the working end to secure the tie.
References
For some great introductory courses, we recommend the following from ShibariClasses:
![]()
Don't forget to pick up some authentic supplies at Esinem-Rope.
Next week we're thinking about directionaility in this single column tie. It's something I'd previously struggled with, but there is a very simple single rule you can follow to consistently get your somerville bowline to always lie in the correct orientation. Tune in next week... as they say on TV! ;-)


